Project Whizbox: Front subframe strengthening
Welcome to a long awaited update on Project Whizbox, the trusty rusty Mini. In this update, we'll show you how to test if your subframe is straight or not and how we have strengthened our subframe to take the abuse of the race track environment.
We started off by making sure the front subframe is straight. This is essential because if we put the car back together with a bent front subframe, the whole car will be bent and won't handle properly. To check if it is straight we used a plumbbob which is a weight on the end of a string.
We hang the plumbbob from each corner of the subframe and mark where the weight hangs on the floor. This gives us an accurate way of measuring the distances between each corner of the subframe.
The factory front subframe width for the front is 660.4 MM and the rear is 412.7 MM. My subframe was exactly 660.4 MM on the front and 412.7 MM on the rear meaning that I have a dead straight subframe!
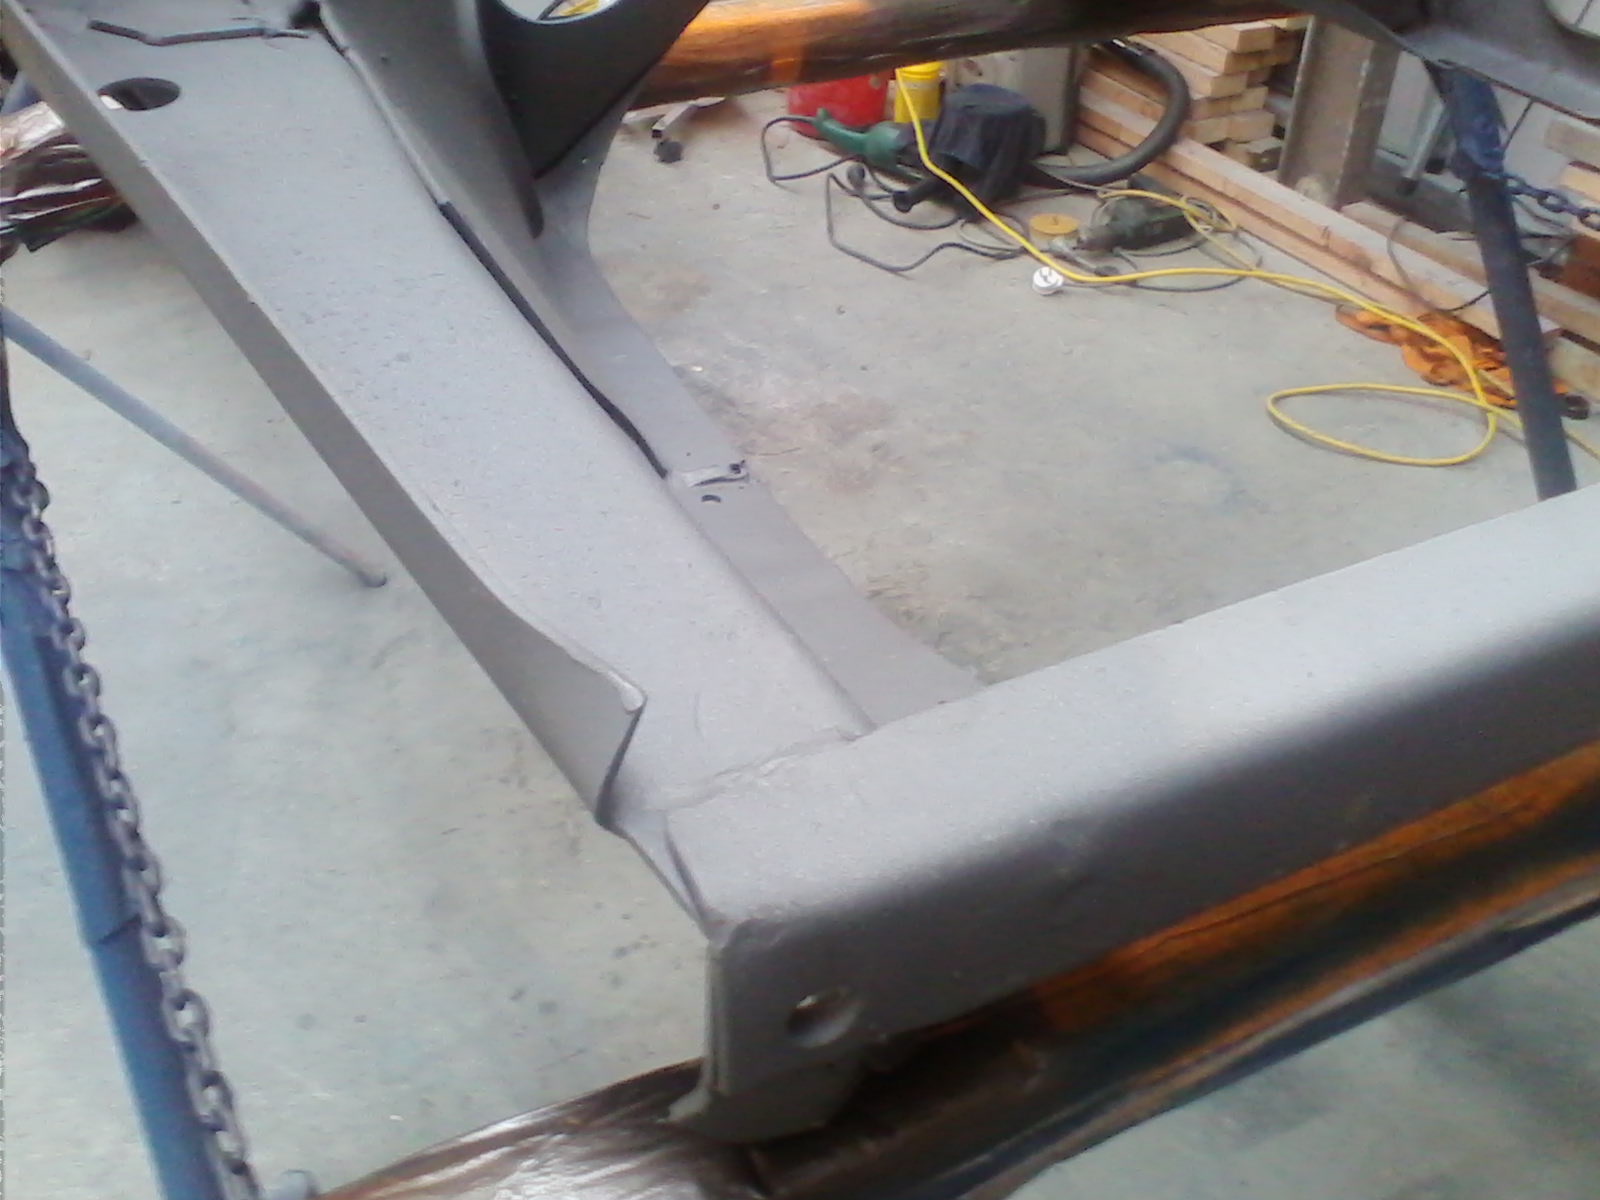
Next up was repairing any dented bits that didn't really need to be fixed but were just annoying to look at. Thankfully, there was only two bits that were dented (as seen above) and were easily mended with a large hammer!
Voila! Dents gone!
Last but definitely not least was the seam welding of the subframe. This ensures that the subframe has less of a chance of warping or bending and also stiffens it up for hopefully better handling. We also added gussets to help stop the subframe bending under extreme circumstances such as bumpy roads or a massive rally car jump.
That concludes our update on Project Whizbox. Thanks for reading and stay tuned for more updates and awesome car stuff.


No comments:
Post a Comment